
Vintage Cake: A Nostalgic Treat from Grandma’s Kitchen 🎂🌸🕰️
1. Introduction
There’s something truly special about a vintage cake recipe. It’s more than just a dessert; it’s a taste of history, a connection to past generations, and a comforting reminder of simpler times. This classic cake recipe evokes memories of grandmothers baking in their kitchens, filling the house with warm, sweet aromas. Perhaps you remember those days fondly? Whether you call it a retro cake recipe or an antique cake recipe, the essence remains the same: a delicious, uncomplicated treat that stands the test of time. Before you dive in, feel free to learn more about us and our passion for sharing these timeless recipes.

In this article, we’ll guide you through creating your very own vintage cake. We’ll explore the ingredients, the method, and even some delightful variations to perfectly tailor this cake to your taste. Get ready to bake a cake that is not only delicious but also rich in history and sentiment. If you’re a fan of classic desserts, you might also enjoy our recipe for Classic Carrot Cake, another timeless treat!. So, preheat your oven, gather your ingredients, and let’s step back in time with this delightful classic cake recipe!
2. The Allure of Vintage Cakes
What makes a vintage cake recipe so appealing? Perhaps it’s the simplicity of the ingredients, the straightforward baking process, or the sense of nostalgia they bring. These cakes often rely on pantry staples and time-tested techniques, making them accessible to bakers of all skill levels. The charm of a retro cake recipe lies in its ability to transport you to a different era, where homemade goodness was a way of life. Baking a vintage cake recipe can also be a wonderful way to bond with family and friends, sharing stories and laughter as you create something special together. Embracing an antique cake recipe is like uncovering a hidden treasure, ready to be enjoyed again and again. Discovering a truly fantastic classic cake recipe can change your entire dessert experience. If you are looking for other dessert option you can check our dessert section on our website.
3. Gathering Your Ingredients
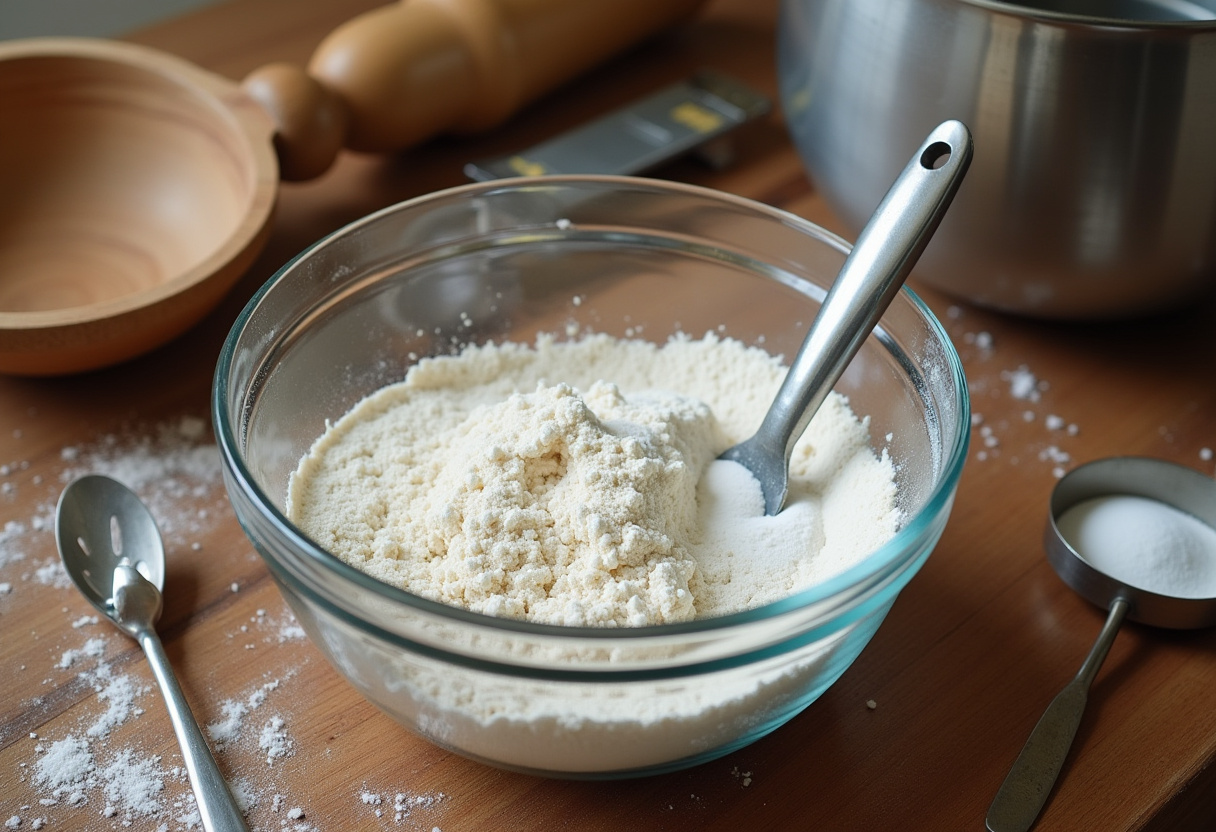
Before you begin, ensure you have all the necessary ingredients for your vintage cake. This is crucial for a smooth baking process. Most classic cake recipes call for basic items you likely already have: all-purpose flour, sugar, butter, eggs, milk, baking powder, and vanilla extract. Some retro cake recipes might include unique additions like spices (nutmeg, cinnamon), nuts, or dried fruits, depending on the specific recipe you choose. It’s always a good idea to read the recipe thoroughly before starting, so you can make sure you have everything you need. Always use high-quality ingredients for the best flavor and texture in your antique cake recipe. Ensuring that your ingredients are fresh will only serve to make a better vintage cake recipe. Don’t underestimate the power of fresh ingredients; they truly make a difference!
4. Step-by-Step Baking Guide
Step 1: Preparing the Batter
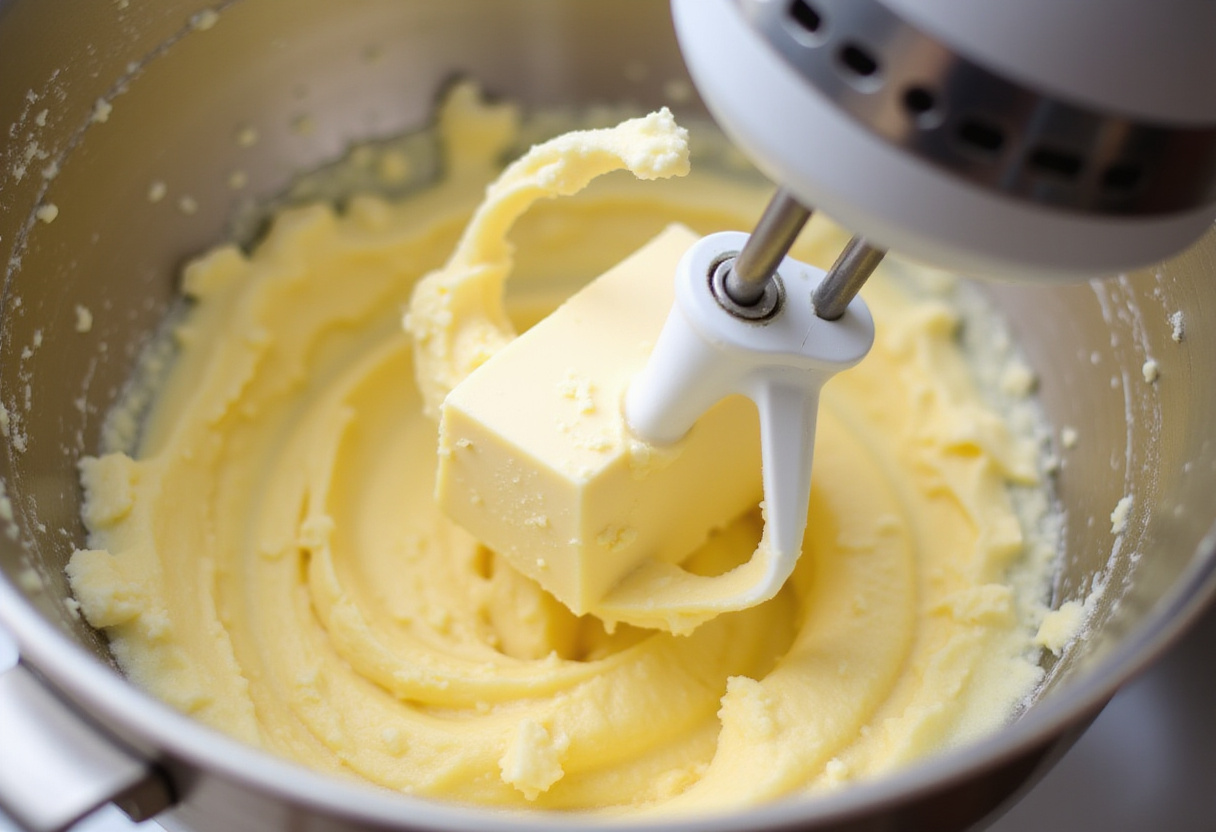
The first step in creating your vintage cake is preparing the batter. In a large mixing bowl, cream together the butter and sugar until light and fluffy. This is a crucial step for achieving a tender crumb in your classic cake recipe. This process incorporates air into the mixture, which helps to create a light and airy texture. Beat in the eggs one at a time, followed by the vanilla extract. Eggs add richness and moisture to the cake, while vanilla extract enhances the flavor. In a separate bowl, whisk together the flour and baking powder. Baking powder is the leavening agent that helps the cake rise. Gradually add the dry ingredients to the wet ingredients, alternating with the milk, until just combined. Be careful not to overmix, as this can result in a tough cake. Overmixing develops the gluten in the flour, leading to a dense and chewy texture. Remember, precision is key when it comes to a retro cake recipe.
Step 2: Baking to Perfection
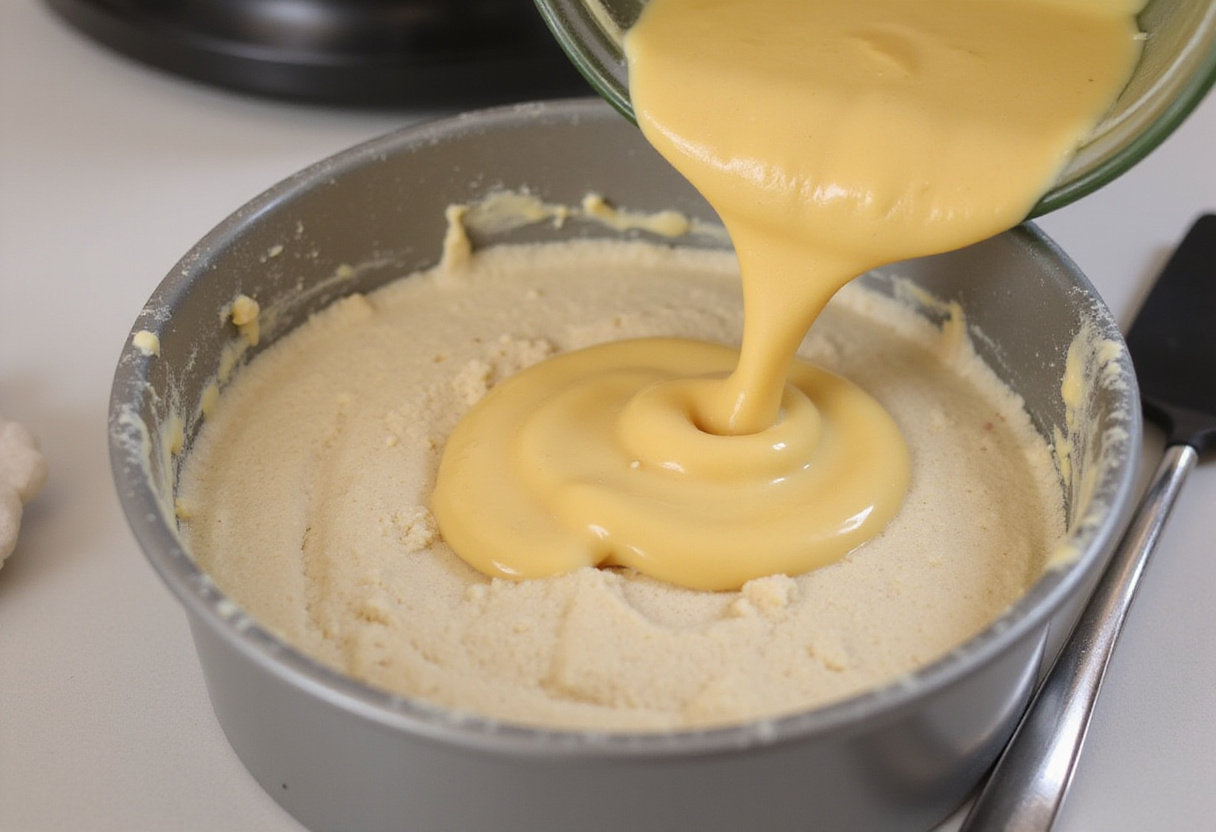
Pour the batter into a greased and floured cake pan. For a vintage cake recipe, a round or square pan works well. Greasing and flouring the pan prevents the cake from sticking and ensures it comes out cleanly. Bake in a preheated oven at 350°F (175°C) for 30-35 minutes, or until a wooden skewer inserted into the center comes out clean. The baking time may vary depending on your oven, so it’s always best to check for doneness using a skewer. Let the cake cool in the pan for 10 minutes before transferring it to a wire rack to cool completely. This prevents the cake from breaking apart when you try to remove it from the pan. Proper baking ensures the perfect texture for your antique cake recipe. This step is very crucial to a good finished vintage cake.
Step 3: Frosting and Decoration
While the cake is cooling, prepare your frosting. A simple buttercream frosting is a classic choice for a vintage cake. Buttercream frosting is made from butter, sugar, and milk or cream, and it’s known for its smooth and creamy texture. You can also opt for a cream cheese frosting or a chocolate ganache, depending on your preference. A cream cheese frosting adds a tangy flavor, while a chocolate ganache provides a rich and decadent touch. Once the cake is completely cool, frost the top and sides. Frosting a warm cake will cause the frosting to melt and slide off. Get creative with your decorations! Use sprinkles, candied cherries, or fresh flowers to add a touch of vintage charm to your retro cake recipe. Choosing the correct frostings for a classic cake recipe is important in ensuring you get that true to taste flavor. Making sure cake is cool before frosting is the most important thing. Need inspiration? Check out The Vintage Cake for more ideas!

Step 4: Serving and Enjoying
Once your vintage cake is frosted and decorated, it’s time to serve and enjoy! Cut a slice, savor the delightful flavors, and let the nostalgia wash over you. This antique cake recipe is perfect for birthdays, holidays, or any special occasion. Share it with friends and family, and watch their faces light up as they experience the magic of a homemade classic. Consider pairing it with a cup of tea or coffee for the ultimate comfort experience. If you’re planning an Easter dinner, you could also consider making some Scalloped Potatoes for Easter Dinner to complement your cake. This classic cake recipe is sure to be the thing that makes you famous among your family and friends.
5. Tips for the Perfect Vintage Cake
To ensure your vintage cake recipe turns out perfectly every time, keep these tips in mind:
- Use room temperature ingredients for better mixing and a smoother batter. Room temperature ingredients emulsify more easily, creating a more stable batter.
- Measure your ingredients accurately for consistent results. Baking is a science, and precise measurements are crucial for success.
- Don’t overmix the batter, as this can lead to a tough cake. Overmixing develops the gluten in the flour, resulting in a dense and chewy texture.
- Bake the cake until a wooden skewer inserted into the center comes out clean. This is the best way to ensure the cake is fully baked.
- Let the cake cool completely before frosting to prevent the frosting from melting. Frosting a warm cake will cause the frosting to melt and slide off.
Mastering these tips will elevate your retro cake recipe to new heights. If you enjoyed these tips and want to try another great recipe, why not explore these Easy Carrot Cake?
6. Variations on the Classic Theme
While the basic vintage cake is delicious on its own, there are many ways to customize it to your liking. Add a layer of jam or fruit filling between the cake layers. This adds moisture and flavor to the cake. Experiment with different frosting flavors, such as lemon, maple, or coffee. Lemon frosting adds a bright and zesty flavor, maple frosting provides a warm and nutty flavor, and coffee frosting adds a rich and bold flavor. Incorporate spices like cinnamon, nutmeg, or cloves for a warm, comforting flavor. These spices add depth and complexity to the cake. You can even add nuts or chocolate chips to the batter for extra texture and richness. Chopped walnuts, pecans, or chocolate chips are all great additions. The possibilities are endless when it comes to a classic cake recipe.
7. Serving Suggestions
A slice of vintage cake is delightful on its own, but it can also be paired with various accompaniments to create a complete dessert experience. Serve it with a scoop of vanilla ice cream or a dollop of whipped cream. The coldness of the ice cream or whipped cream complements the warmth of the cake. Drizzle it with caramel sauce or chocolate syrup. These sauces add sweetness and richness to the cake. Offer it alongside a cup of coffee or tea. The warmth of the coffee or tea enhances the flavors of the cake. For a more elaborate presentation, garnish the cake with fresh berries or a sprinkle of powdered sugar. Fresh berries add color and sweetness, while powdered sugar adds a touch of elegance. There are countless ways to elevate your retro cake recipe. Thinking outside of the box can really allow you to discover delicious things!
8. Storage Instructions
To keep your vintage cake fresh, store it in an airtight container at room temperature for up to three days. An airtight container prevents the cake from drying out. If you need to store it for longer, you can refrigerate it for up to a week. Just be sure to bring it to room temperature before serving for the best flavor and texture. Refrigerating the cake can make it dry, so it’s important to bring it to room temperature before serving. You can also freeze the cake for up to two months. Wrap it tightly in plastic wrap and then foil to prevent freezer burn. Freezer burn can affect the taste and texture of the cake. Proper storage ensures you can enjoy your antique cake recipe for days to come, fresh as the day it came out of the oven. By implementing these storage tips there will be no end to the cake you can make!
9. Conclusion
A vintage cake recipe is more than just a dessert; it’s a cherished tradition that connects us to the past. With its simple ingredients, straightforward baking process, and comforting flavors, it’s a treat that’s sure to bring joy to your table. Whether you’re baking it for a special occasion or simply to satisfy your sweet tooth, this classic cake recipe is a timeless classic that never goes out of style. If you loved this recipe, you might also enjoy our takes on delicious scalloped potatoes! So, embrace the nostalgia and create your very own retro cake today!
Print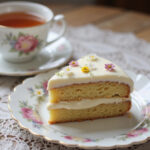
vintage cake
- Total Time: 55 minutes
- Yield: 12 servings 1x
- Diet: Vegetarian
Description
Experience the delightful nostalgia of a Vintage Cake, a classic recipe that brings the warmth of Grandma’s kitchen to your home. This simple yet flavorful cake is perfect for any occasion, embodying cherished memories with every slice.
Ingredients
- 2 cups all-purpose flour
- 1 ½ cups granulated sugar
- ½ cup unsalted butter, softened
- 4 large eggs
- 1 cup milk
- 2 tsp baking powder
- 2 tsp vanilla extract
- Optional: spices (nutmeg, cinnamon), nuts, or dried fruits
Instructions
- Preheat your oven to 350°F (175°C).
- In a large mixing bowl, cream together the butter and sugar until light and fluffy.
- Add eggs one at a time, mixing well after each addition, followed by the vanilla extract.
- In another bowl, whisk together the flour and baking powder.
- Gradually add the dry ingredients to the wet mixture alternately with the milk, mixing until just combined.
- Pour the batter into a greased and floured cake pan.
- Bake for 30-35 minutes, or until a wooden skewer comes out clean.
- Let the cake cool in the pan for 10 minutes, then transfer to a wire rack to cool completely.
- Frost with your favorite frosting (buttercream, cream cheese, or ganache) once completely cooled.
- Decorate as desired and serve.
Notes
- Use room temperature ingredients for better mixing.
- Accurately measure your ingredients for consistent results.
- Avoid overmixing to prevent a tough cake.
- Allow the cake to cool completely before frosting.
- Feel free to experiment with variations, such as adding jams or different frosting flavors.
- Prep Time: 20 minutes
- Cook Time: 35 minutes
- Category: Dessert
- Method: Baking
- Cuisine: American
Nutrition
- Serving Size: 1 slice
- Calories: 320 Kcal
- Sugar: 18g
- Sodium: 180mg
- Fat: 12g
- Saturated Fat: 7g
- Unsaturated Fat: 3g
- Trans Fat: 0g
- Carbohydrates: 44g
- Fiber: 1g
- Protein: 4g
- Cholesterol: 70mg