Reka Bread Recipe: A Timeless Comfort Food 🍞🏡🌟
1. Introduction
The reka bread recipe is more than just a set of instructions; it’s a journey into the heart of traditional baking, connecting us to simpler times and heartwarming flavors. This comprehensive guide will walk you through creating a loaf that embodies warmth and simplicity, perfect for any occasion. Whether you’re a seasoned baker eager to perfect your technique or just starting your baking adventure, this homemade reka bread will fill your kitchen with an irresistible aroma and provide a taste that brings you back to simpler times. Perhaps try it alongside some other breakfast or brunch options. Learn how to make this staple with our easy-to-follow instructions and tips for a perfect bake every time. The delightful simplicity of reka bread makes it a wonderful addition to any meal, complementing a wide range of dishes.
2. What is Reka Bread?
Reka bread is a humble, yet satisfying bread known for its simple ingredients and comforting taste. It stands out because of its versatility, lending itself beautifully to both sweet and savory pairings. Often enjoyed as a daily staple, traditional reka bread recipes vary from family to family, each adding their own unique touch. This bread is not only delicious but also deeply connected to cultural traditions, making it a meaningful addition to any meal. Understanding the history of reka bread enriches the baking experience, connecting you to generations of home bakers. It’s a comforting taste of history you can create in your own kitchen. Consider pairing it with options from our Soups category!.
3. Ingredients Needed
Here’s what you’ll need to create your very own loaf of reka bread:
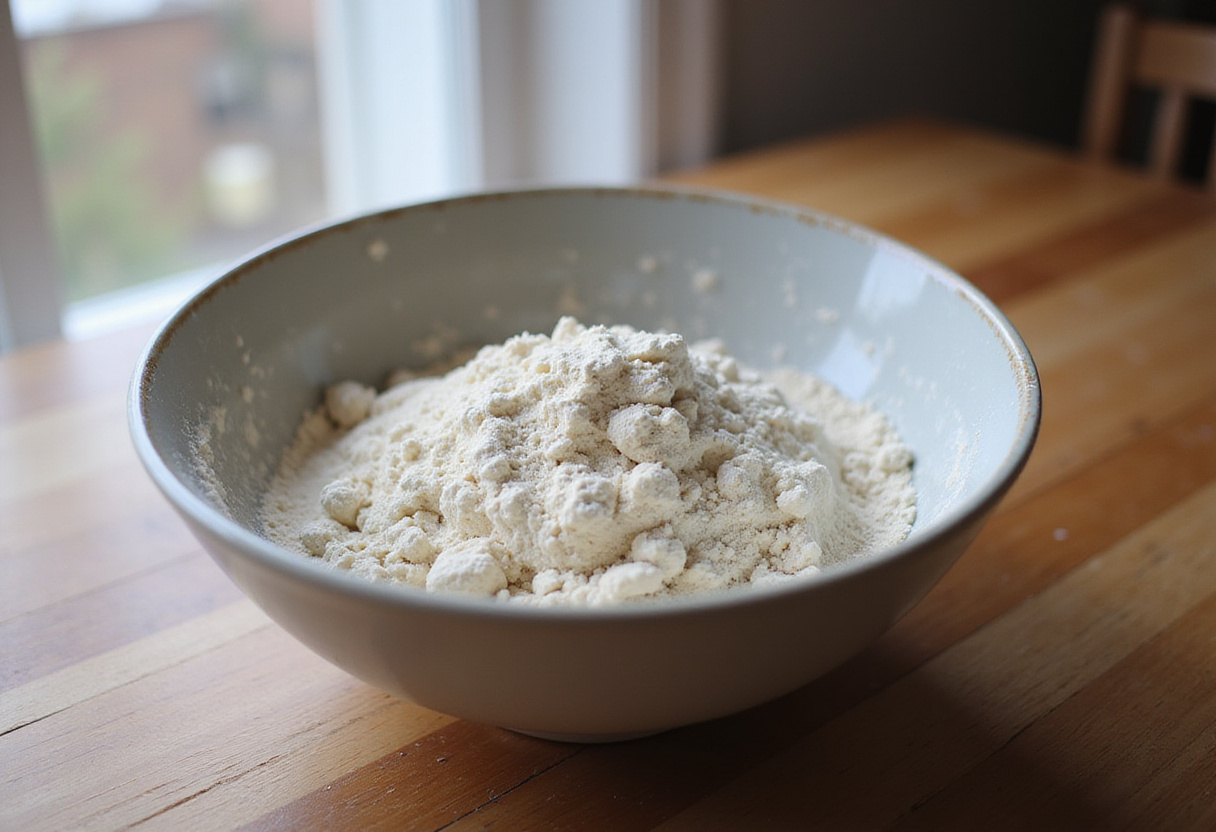
- 4 cups all-purpose flour
- 2 teaspoons active dry yeast
- 2 teaspoons salt
- 2 cups warm water (105-115°F)
- 2 tablespoons olive oil (plus extra for greasing)
4. Equipment Required
Having the right equipment on hand will make the baking process smoother and more enjoyable:
- Large mixing bowl
- Measuring cups and spoons
- Clean kitchen towel
- Baking sheet
- Parchment paper (optional)
5. Step-by-Step Instructions
Follow these detailed steps to bake your perfect loaf of reka bread:
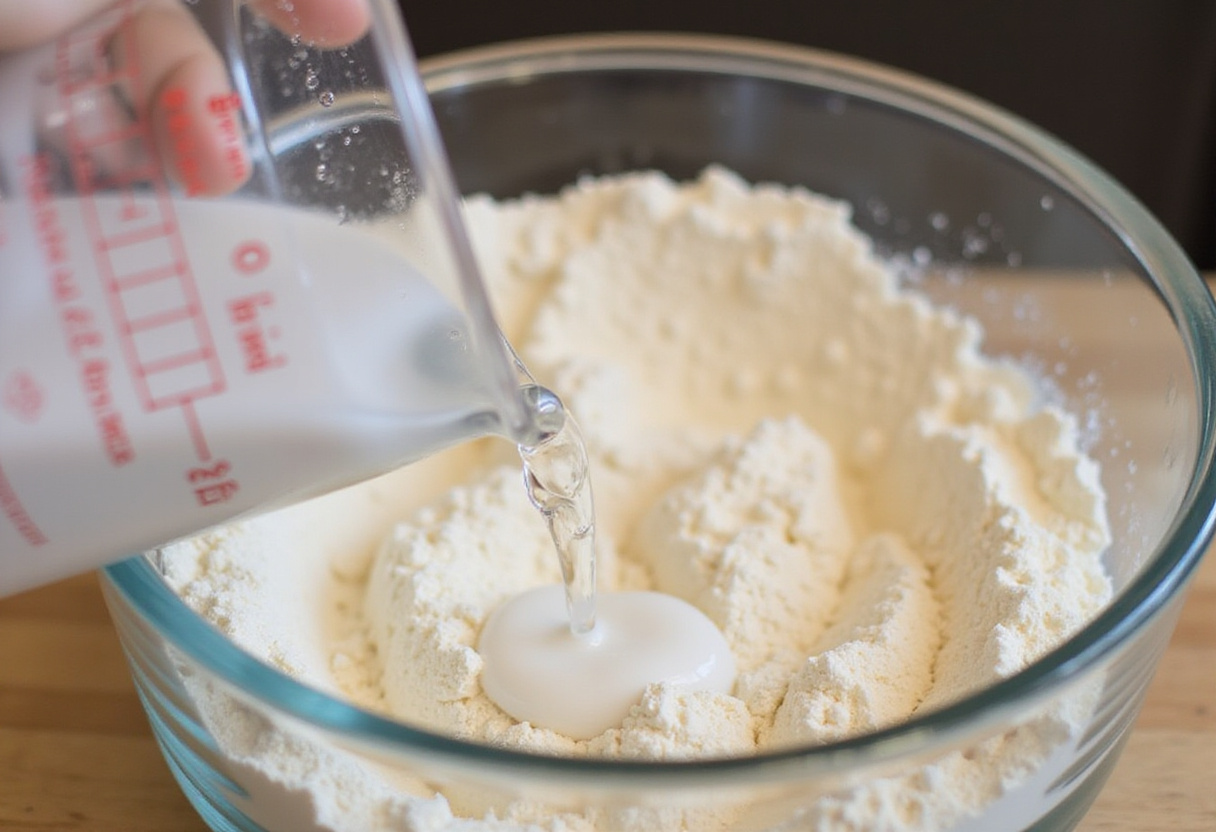
Step 1: Activate the Yeast
In a large mixing bowl, dissolve the yeast in warm water. Let it sit for about 5-10 minutes until it becomes foamy. This step ensures the yeast is active and ready to help your reka bread rise properly. The foam indicates that the yeast is alive and ready to work its magic!
Step 2: Combine Ingredients
Add the olive oil and salt to the yeast mixture. Gradually add the flour, mixing until a shaggy dough forms. Be sure to fully incorporate all ingredients to achieve the right consistency for your homemade reka bread. Remember, patience is key here; add the flour slowly to prevent lumps and ensure even distribution.
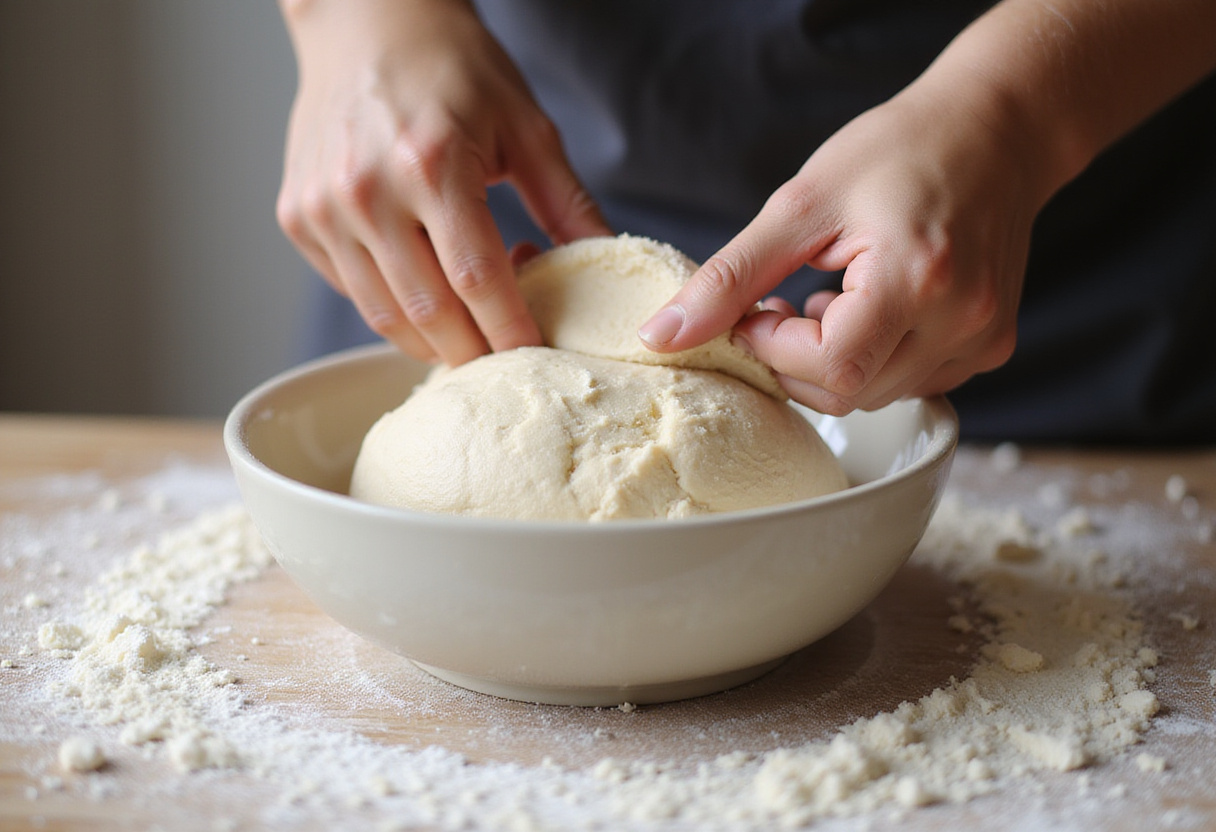
Step 3: Knead the Dough
Turn the dough out onto a lightly floured surface and knead for 8-10 minutes until it becomes smooth and elastic. Proper kneading is crucial for developing the gluten, which gives reka bread its texture. Gluten development is what gives the bread its wonderful chewiness. If the dough is too sticky, add a little more flour, one tablespoon at a time. Don’t be afraid to get your hands dirty! If you’re looking for something to serve with your fresh bread, why not check out our main dishes for inspiration?
Step 4: Proof the Dough
Grease the mixing bowl with olive oil, place the dough back in the bowl, and turn to coat. Cover with a clean kitchen towel and let it rise in a warm place for 1-1.5 hours, or until doubled in size. This rising period allows the reka bread dough to develop its characteristic flavor and airy texture. A warm environment helps the yeast to thrive, leading to a beautifully risen dough.

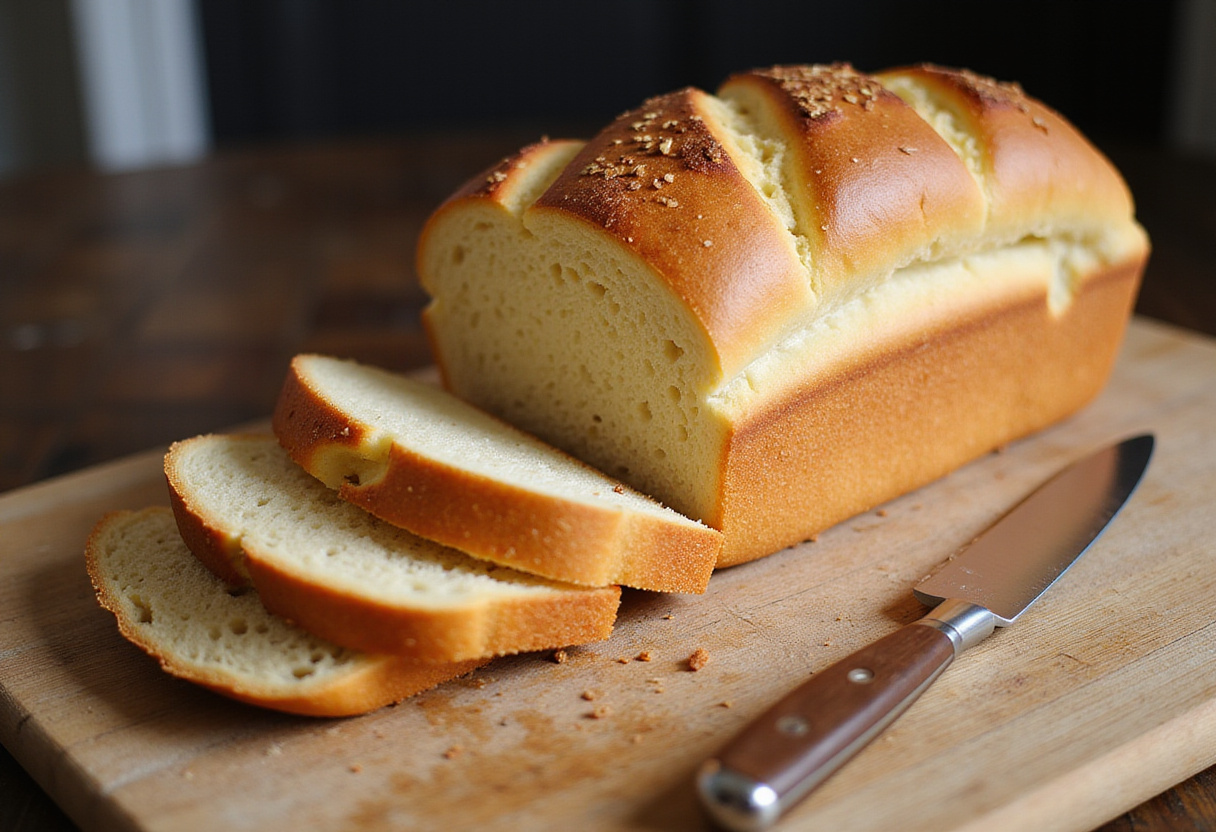
Step 5: Shape and Bake
Preheat your oven to 375°F (190°C). Punch down the dough to release the air. Shape it into a round or oblong loaf and place it on a baking sheet lined with parchment paper (if using). Bake for 30-35 minutes, or until the loaf is golden brown and sounds hollow when tapped on the bottom. The perfect bake gives your traditional reka bread a delightful crust and soft interior. For an extra rustic touch, score the top of the loaf with a sharp knife before baking.
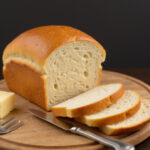
Step 6: Cool and Serve
Remove the bread from the oven and let it cool on a wire rack before slicing and serving. Enjoy your fresh, homemade reka bread with your favorite spreads, soups, or as a delicious side to any meal. It’s also fantastic toasted! Consider checking out these recipe shares for more serving suggestions.
6. Tips for the Perfect Reka Bread
Here are some insider tips to ensure your reka bread turns out perfectly every time:
- Use a thermometer to ensure your water is between 105-115°F for optimal yeast activity.
- Don’t over-knead the dough; it should be smooth and elastic, but not tough.
- If your kitchen is cold, you can proof the dough in the oven with the light on or in a warm spot near the stove.
- For a crispier crust, brush the loaf with olive oil before baking.
7. Variations and Additions
Get creative with your reka bread by trying these delicious variations:
- Add herbs like rosemary or thyme to the dough for an extra layer of flavor. These herbs are especially delightful in the fall and winter months.
- Incorporate seeds such as sesame, poppy, or sunflower for added texture and nutrition.
- Mix in grated cheese for a savory twist on reka bread. Cheddar, Parmesan, or Gruyere would all work wonderfully.
8. Serving Suggestions
Reka bread is incredibly versatile. Serve it:
- Warm with butter or olive oil. A simple and classic way to enjoy the bread’s flavor.
- As a side to soups and stews. It’s perfect for soaking up all the delicious broth. Find soup recipes in our Soups category.
- Toasted for sandwiches. It makes an excellent base for both hot and cold fillings.
- With cheese and charcuterie. A great addition to any cheese board or appetizer spread which can be found in our Appetizers & Snacks category.
9. Conclusion
The reka bread recipe is a simple yet satisfying way to bring the comfort of homemade bread into your home. With easy-to-follow steps and minimal ingredients, you can create a delicious loaf that’s perfect for any occasion. Baking it could be the perfect idea for dinner ideas. Enjoy the process of baking this traditional reka bread and savor the warmth and flavor it brings to your table. Happy baking! If you want to read more about us, click here!
Print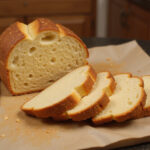
reka bread recipe
- Total Time: 1 hour 55 minutes
- Yield: 1 loaf 1x
- Diet: Vegetarian
Description
The Reka Bread Recipe is a timeless comfort food that offers a journey into traditional baking. This simple yet satisfying homemade bread fills your kitchen with warmth and an irresistible aroma. Perfect for seasoned bakers and beginners alike, this recipe brings the essence of home to your table.
Ingredients
- 4 cups all-purpose flour
- 2 teaspoons active dry yeast
- 2 teaspoons salt
- 2 cups warm water (105-115°F)
- 2 tablespoons olive oil (plus extra for greasing)
Instructions
- In a large mixing bowl, dissolve the yeast in warm water. Let it sit for about 5-10 minutes until it becomes foamy.
- Add the olive oil and salt to the yeast mixture. Gradually add the flour, mixing until a shaggy dough forms.
- Turn the dough out onto a lightly floured surface and knead for 8-10 minutes until it becomes smooth and elastic.
- Grease the mixing bowl with olive oil, place the dough back in the bowl, and cover with a clean kitchen towel. Let it rise in a warm place for 1-1.5 hours, or until doubled in size.
- Preheat your oven to 375°F (190°C). Punch down the dough, shape it into a loaf, and place it on a baking sheet lined with parchment paper. Bake for 30-35 minutes until golden brown.
- Remove the bread from the oven and let it cool on a wire rack before slicing and serving.
Notes
- Use a thermometer to ensure your water is between 105-115°F for optimal yeast activity.
- Don’t over-knead the dough; it should be smooth and elastic, but not tough.
- If your kitchen is cold, proof the dough in the oven with the light on or in a warm spot near the stove.
- For a crispier crust, brush the loaf with olive oil before baking.
- Prep Time: 20 minutes
- Cook Time: 35 minutes
- Category: Bread
- Method: Baking
- Cuisine: Traditional
Nutrition
- Serving Size: 1 slice
- Calories: 120 Kcal
- Sugar: 0g
- Sodium: 200mg
- Fat: 2g
- Saturated Fat: 0g
- Unsaturated Fat: 1g
- Trans Fat: 0g
- Carbohydrates: 22g
- Fiber: 1g
- Protein: 4g
- Cholesterol: 0mg
Keywords: reka bread, homemade bread recipe, traditional recipe, comfort food, baking